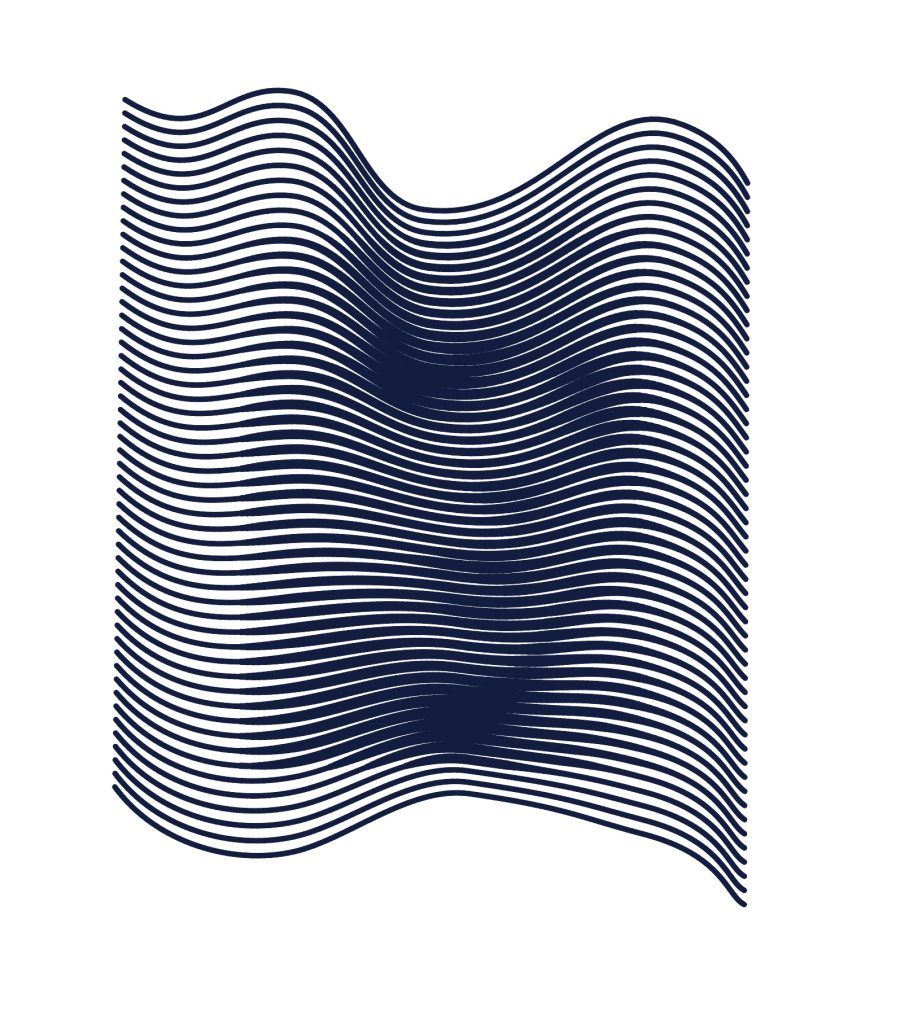
HalfLine is a script for an Adobe Illustrator that bridges the gap between raster and vector images.
INSTALLING
Go to Adobe <link> to download the extension and get a key.
- Install the extension. There are several ways, I recommend AE Scripts installer https://aescripts.com/knowledgebase/index/view/faq/zxp-installer-faq/
- Restart Illustrator.
- Navigate to Illustrator > Window > Extensions > HalfLine.
- Enter the key in the field. The installer will need internet access, so if your firewall blocks Illustrator, you might need to temporarily disable it.
The installer should create a script and a help file on your Desktop. It should also open both that folder and the default Illustrator scripts folder. You can now close the panel, as it won’t be needed anymore.
Launch the script by dragging the HalfLine.jsx file into Illustrator window or navigating to:
Illustrator > File > Scripts > Other Script… and locating HalfLine.jsx.
If you want the script to appear in the Illustrator script menu, drag the script file and help file to the default script folder. You can also refer to:
https://www.scriptsfordesigners.com/resources/how-to-install/
If you have difficulty installing using AEScripts installer, you can try other methods:
Adobe’s https://helpx.adobe.com/creative-cloud/kb/installingextensionsandaddons.html
ZXP Installer: https://zxpinstaller.com/
Anastasiy Extension Manager: https://install.anastasiy.com/
If, despite everything, you cannot install the extension using any of the methods above, please contact us at: https://www.scriptsfordesigners.com/request-a-script/
HalfLine is a collection of 3 separate modules or tools, each providing unique output.
Spots module
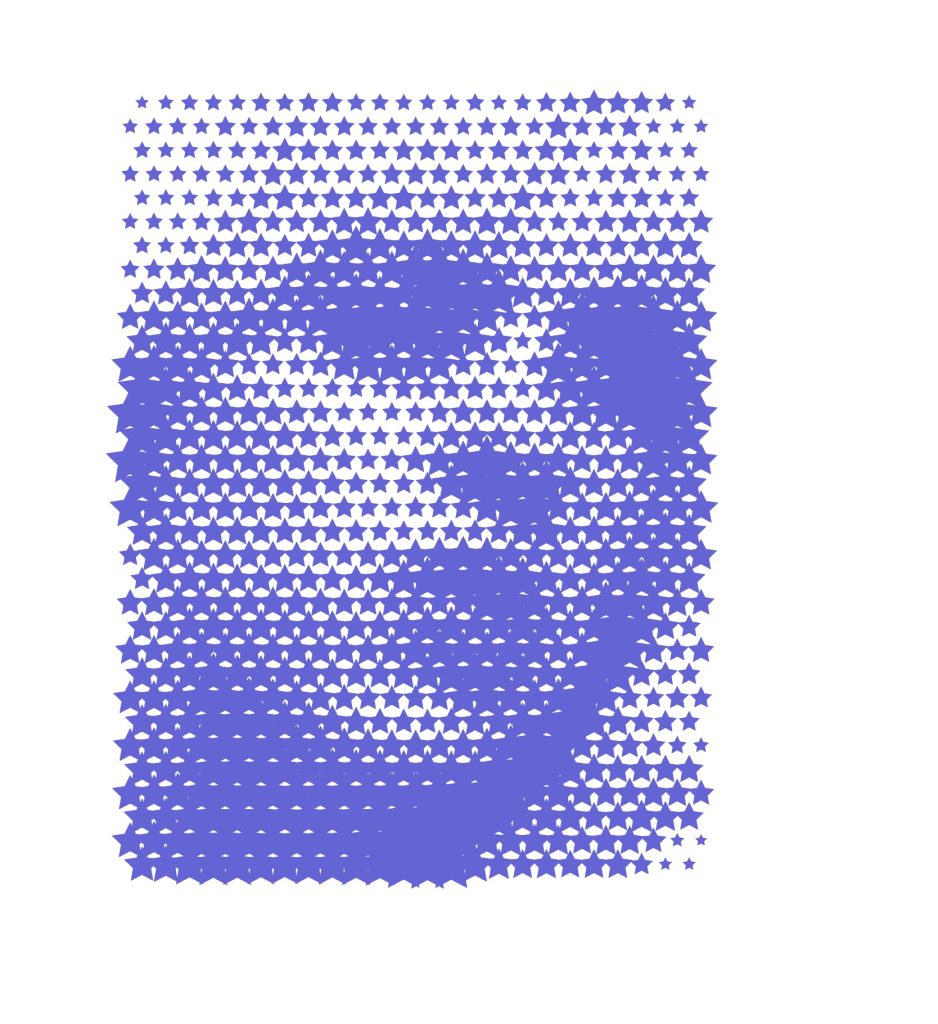
Selecting an image and clicking “Generate” should provide a basic example of what to expect— the script should generate a default grid of rectangles scaled according to the underlying image’s pixel values.
However, depending on the initial selection, the script will produce different results.
- If an image and one additional object are selected, the script will use that object to create a grid. So, if you draw a star and select it, the script will create a grid of stars.
- If several (ungrouped) objects are selected, the script will use that selection as a base to modify by the underlying image’s pixel brightness. If you select a grid of random paths and run the script, you’ll get this result. In fact, it doesn’t have to be a grid, but a grid structure can improve visibility of the underlying image when “imprinted upon” vectors.
If only one image is present in the document, the script will use that image by default. No image selection is needed—selecting just one object and clicking “Generate” will suffice to create a grid from that object.
For performance and simplicity, it’s recommended to work with only one .ai file open and a single image present.
Available options for Spots:
- Scale will calculate how the vector item should be scaled depending on the underlying pixel lightness.
- Rotation determines how much objects will be rotated based on the underlying pixel lightness.
- X, Y offsets move objects along the X or Y axis depending on the brightness below.
- Alternating checkbox indicates the pattern type default grids are created.
Global options for Image Control:
- Resolution: Grid width. Controls how many items you want per grid row or how many columns.
- Contrast: Defines how much image pixels modify vector objects.
Be careful with high resolution values, as they will impact performance.
When working with a single file and single image, the image doesn’t have to be selected. It can even be hidden.
Each time the script generates output, it creates a new layer named HL work layer X. You can inspect previous generations or delete old layers to improve performance.
Avoid adding artwork to these layers, as they will be hidden by the script when a new one is created. It is recommended to keep your image in one layer and custom artwork in another.
Lines module
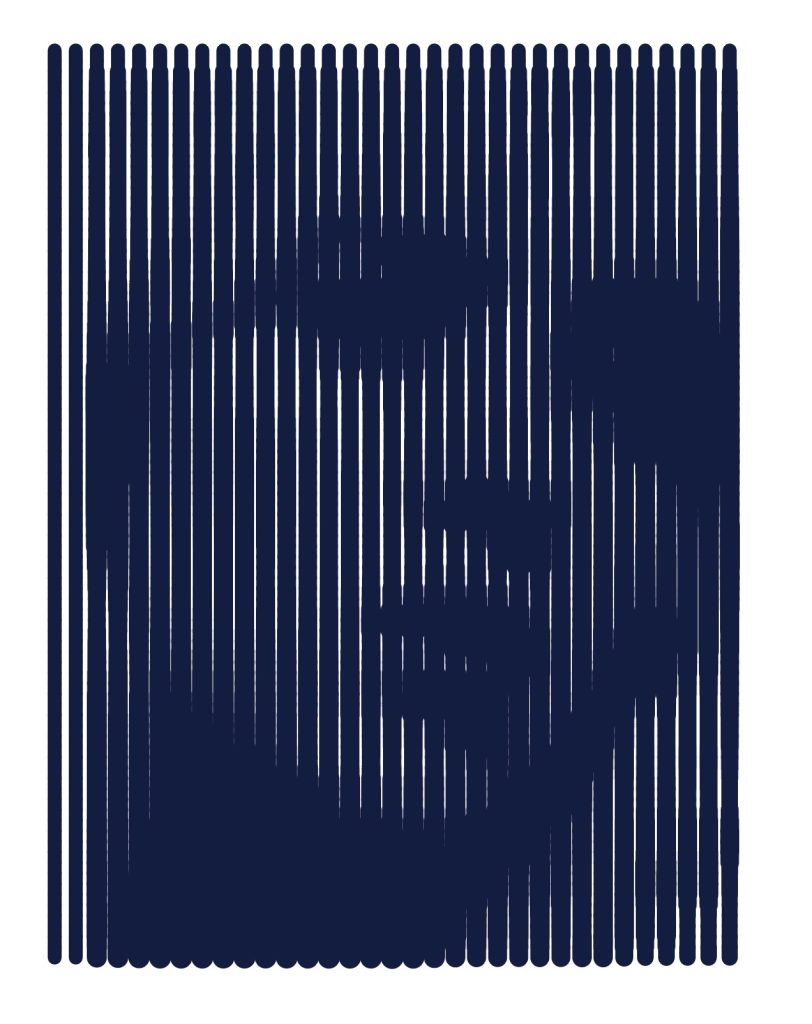
As with Spots, the most straightforward usage is to select an image and hit “Generate.” If image you are using is a portrait, something similar should appear.
While thickness is the most obvious option to increase line thickness, another option is adjusting contrast in image settings.
Accuracy adds extra anchor points. It is necessary for curved lines if you want smoother results.
Be cautious with accuracy—it can cause significant performance hit.
Smoothing applies a blur-like effect to vectors, reducing sharp changes in line size.
Vertical indicates line orientation when creating default lines.
Line mode can also create designs with curved lines. It works with any lines placed over an image. Select several path items or a group item containing path items along with an image. If only one image is present in the document, image selection is not necessary.
The Blend Tool is useful for creating initial lines, though other tools can be used too:
- Draw two lines.
- Select both, press
CMD+ALT+Bor CTRL+ALT+B to create a blend. - Adjust blend properties.
- Go to Object > Expand.
- Select the group and place it above the image, then press “Generate.”
- You might want to increase accuracy for better results, but be careful.

The script will copy your artwork and generate another layer, redrawing it with lines adjusted for brightness.
You may want to hide your initial artwork to better see the generated vectors. If only one image is present in your document, you can hide that image. Continue working with the image hidden, ensuring that the vectors you’re adjusting are placed directly above it.
Be careful when generating another variation to select initial artwork layer, not the one script generated.
Due to scripting limitations in ExtendScript, it’s not possible to variate line width (as with the Width Tool). The extension instead builds varying width lines from small segments. Similarly, curved lines are broken into segments for performance reasons. Adjusting settings can mitigate these limitations and yield satisfactory results.
Mosaic
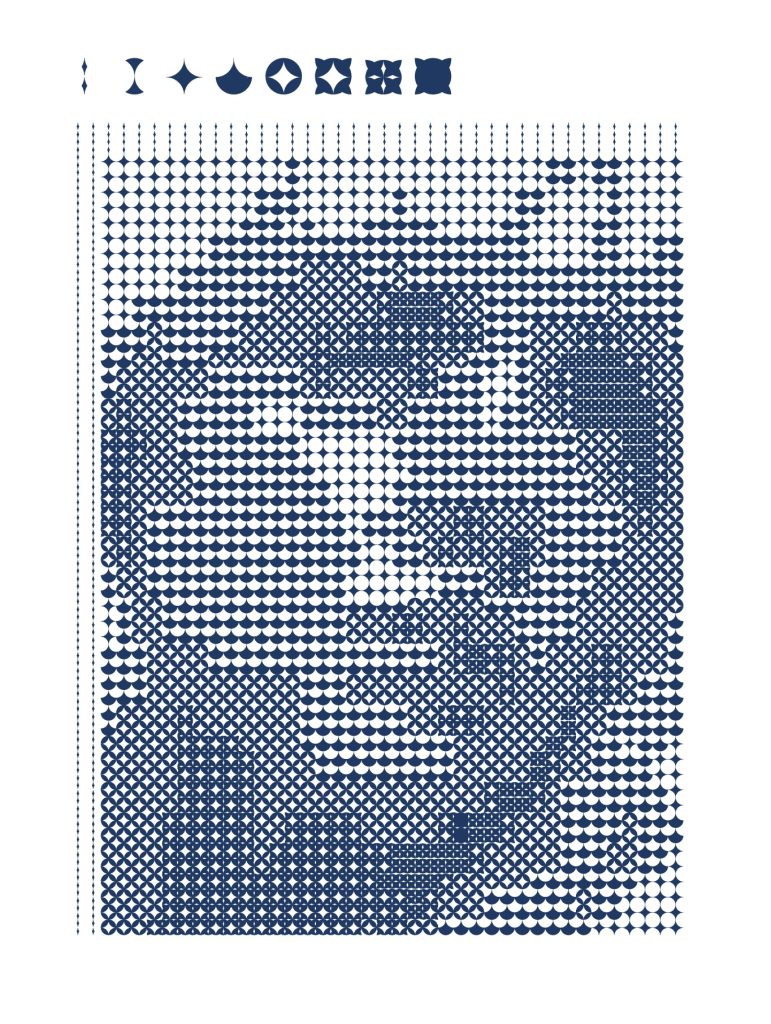
When you run the mosaic tool by pressing “Generate” or “Create Cell,” the script creates a mosaic cell above your image. The MOSAIC_CELL is a special group used by the script to generate the mosaic.
Inside the mosaic cell, there are eight items that get progressively darker from left to right (or more filled, to be precise). The script duplicates that cell based on resolution and picks an item corresponding to the pixel lightness beneath.
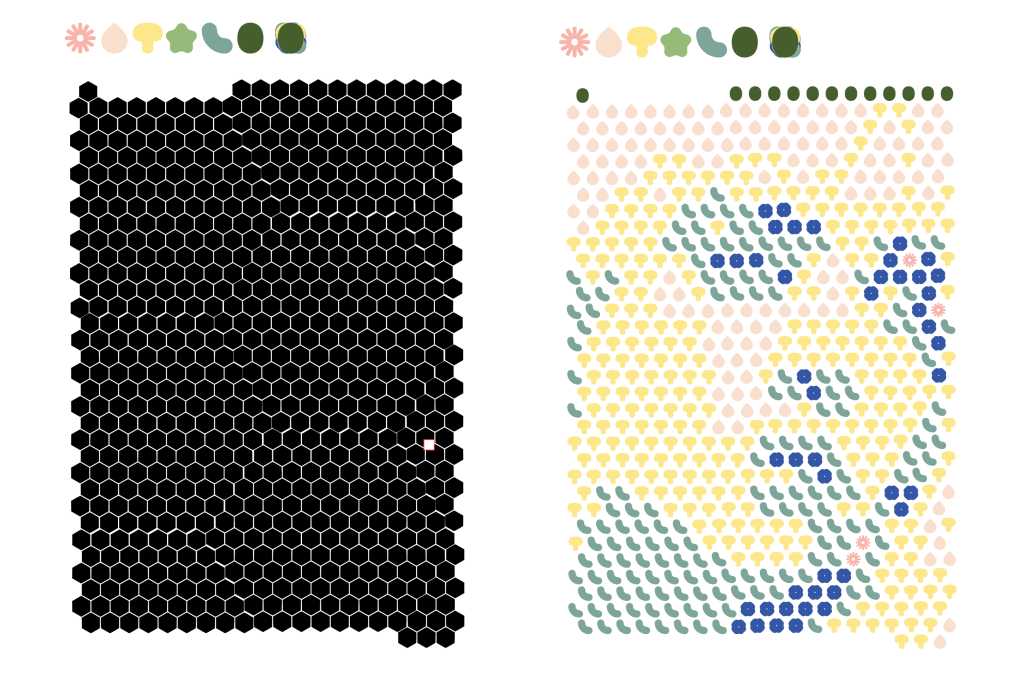
You can edit the mosaic cell group and replace items with your own. Both group and path items are allowed inside. Eight items are recommended, but any number is possible. Let your creativity guide you!

The script locates the MOSAIC_CELL group by name in layer (MOSAIC_CELL_LAYER), so be sure to leave naming intact. If you break it, don’t worry, just click Create Cell again
Similarly to Spots creation, you can use any grid you like—hex grid, radial grid, etc. Simply select a bunch of path items, and the mosaic cells will be placed accordingly.
I hope these 3 tools become a valuable addition to your creative toolbox. If you have any questions or difficulties, feel free to ask: https://www.scriptsfordesigners.com/request-a-script/
